Toban Dyck, with files from Canola Watch
PHOTOGRAPHY. Many of us dabble in it. Agronomists use it as a tool to reach farmers, correspond with fellow scientists and for research. And farmers enjoy photography for the same reasons, as well as for capturing sunsets/sunrises while out on the field. The craft is to be appreciated for its technological complexities. Its technological possibilities. And, of course, its entertainment value. Below are a few guidelines for honing your approach to photography ahead of the 2023 growing season.
1. When photographing a plant with known or unknown disease and/or pest pressures, keep an open mind. Don’t have a preconceived notion of what the problem is, and try not to convince the agronomist or other diagnostician what you think the problem is before everyone has had a chance to assess the facts. One symptom can have many causes, and an issue confined to a few plants in a corner of the field may not be worth the management effort.

2. Focus on focus. Take a look at the photo on a large screen before you send it. Zoom in. Is it sharp? All cameras are challenged to take sharp close ups, especially when the subject is small and the lens is 2 inches away. Choose the camera’s “macro” setting if you have that option. It is better to back away from the insect or lesion or weed a few more inches to achieve good focus. The subject may be smaller in the view finder, but if the focus is better, the agronomist/diagnostician receiving the photo can zoom in for a better look.
3. Cover the angles. Top. Side. Front. Back. Close up. Mid-range. And Long range – if an overall field shot seems useful, as it could be with spray efficacy or seeding issues. If shooting leaf damage, photograph the topside and underside of leaves. For weeds in particular, take pictures of as many parts of the plant as possible – roots including any perennial parts, flowers, inside the flowers, outside the flower and not just the coloured showy bits, a leaf by itself and attached to the plant, where the leaf attaches to the plant, the stem, close up of hairs, and with grasses pull back the leaf away from the stem and take a shot of the collar region so that ligules and auricles are visible.
4. Use a size reference. Include a ruler, coin or pen in the image so the viewer has a clear idea of the subject’s size.
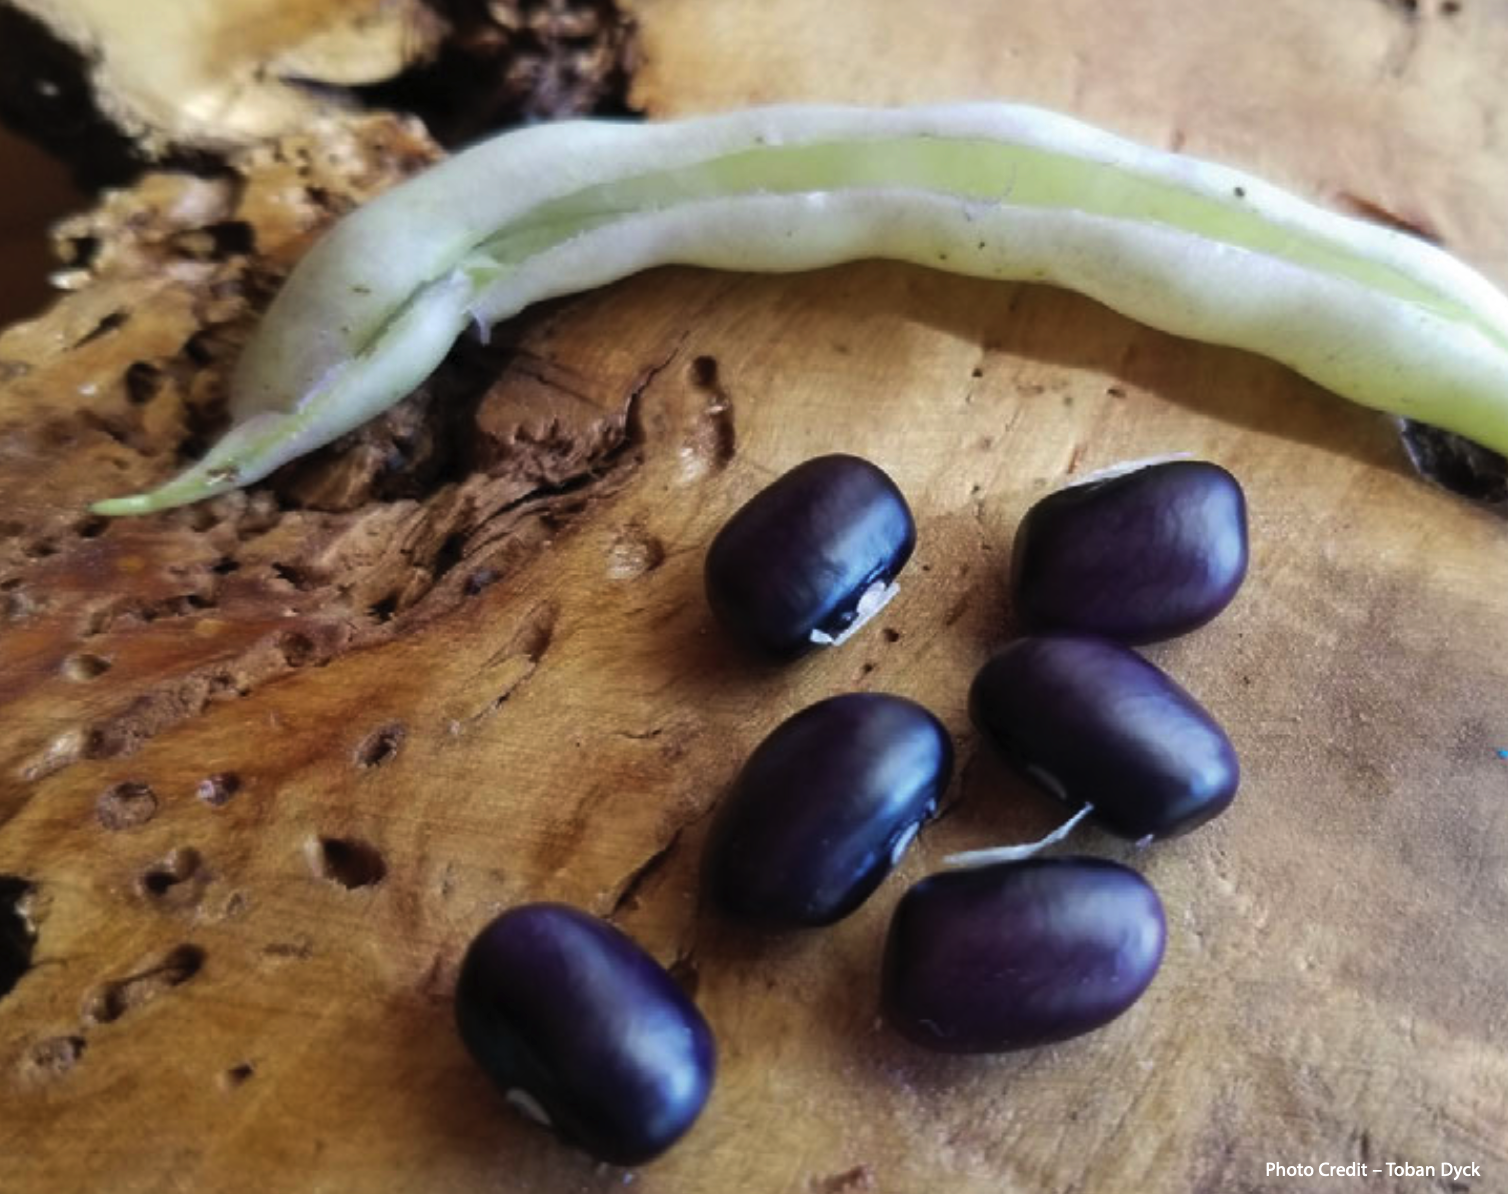
5. Seek contrast. If possible, and if the plant has been uprooted for the photo shoot and further assessment, set it against a surface that allows its details to pop – a green plant atop a white piece of foamcore or a piece of paper.
6. Get creative. There are a lot of plant photos out there. Try capturing the plant in a way that you haven’t seen done before. This may help tease out and bring into focus elements of the plant that you hadn’t previously captured.
7. It’s all about light. Shoot with the sun behind you. If you don’t do this, your plant will be a black silhouette against an overexposed sky. If it’s midday and there’s no avoiding the sun, use the flash on your phone or DSLR camera. This will help. Also, watch out for shadows. Be mindful of them and make sure your subject, be it a plant or person, is not darkened by a shadow. Adjust your stance/location, accordingly.

8. It’s also about the details. Remember where you took the photo – land number, where on the field you were standing and any other details that could help the famer, agronomist or diagnostician properly contextualize the problem/photo.
9. Prepare, prepare, prepare. If you’re planning on spending the day taking photos, make sure you have enough space on your phone, some extra SD cards and that the batteries on your DSLR and phone have been charged. This is important. There is nothing worse than being out in the field, ready to snap, and then realizing you don’t have what you need. Try to carry a camera and extras of all related things in your summer vehicle. Then, even if you hadn’t planned to take photos that day, you are ready.
10. Settings are an internet search away. Your phone will produce a good photo in most circumstances, but that isn’t always the case. For example, it will not tell you if your plant is in a shadow or if it’ll come out a dark silhouette. If you’re out and about with a DSLR, assess the day’s weather and search the internet for the appropriate settings, keying in the device you’ll be using, whether you’re shooting outdoors or indoors, and what it is you’ll be photographing. Include any additional details that may make your photoshoot unique – wind (moving plants), rain, etc.
11. The photo itself is merely the first step. Once you’ve taken your photos and recorded the details, it’s time for processing. Photo-editing software is not a requirement, but some level of processing is. Pull all of the relevant photos off of your phone (uploading to a shared drive, such as Google Photos, is a great way to make this process seamless), delete the blurry ones and then group the good ones into labelled folder that can easily be found later on. Few thing are more frustrating than an archive of digital photos that don’t have labels and haven’t been culled.
12. Have fun.